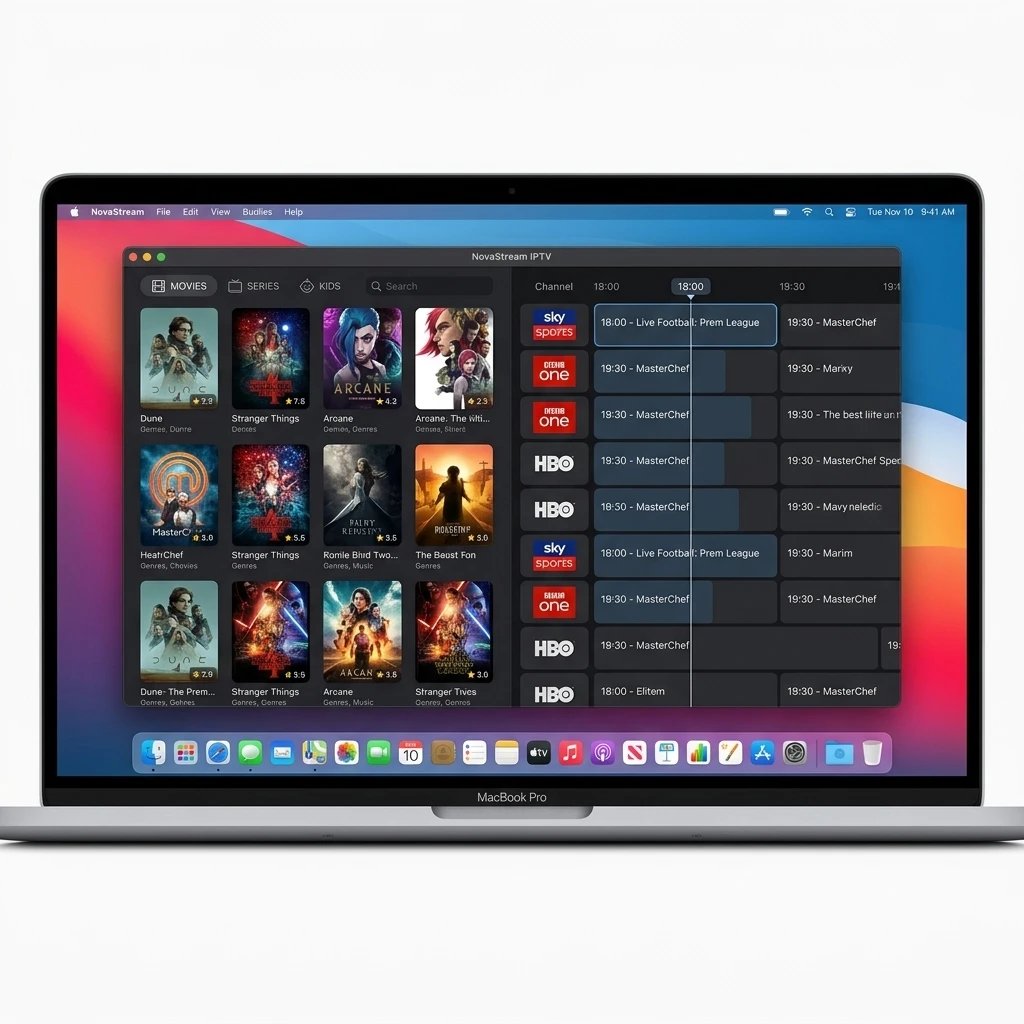
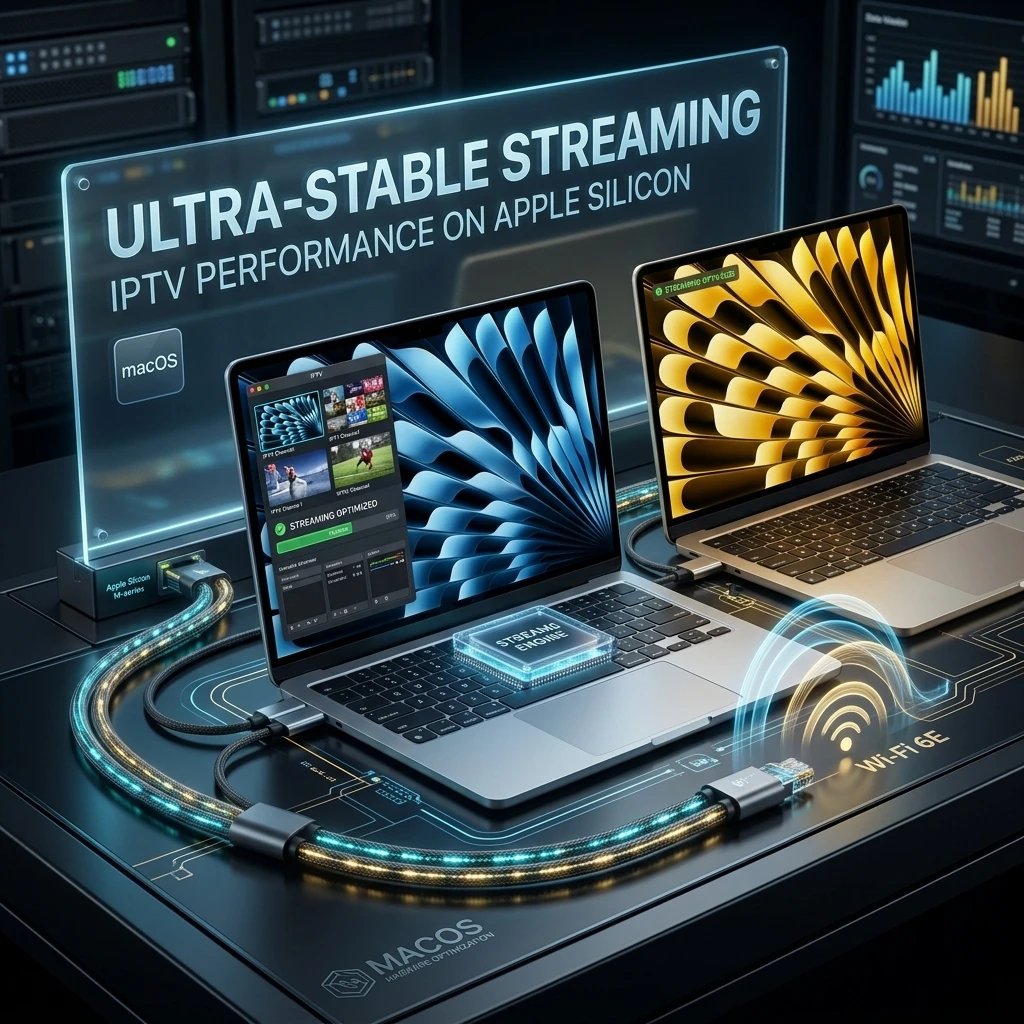
The modern Apple hardware ecosystem, particularly the transition to Apple Silicon (M1, M2, M3, and M4 chips), has transformed MacBooks, iMacs, and Mac Minis into incredibly powerful media consumption devices. With Liquid Retina displays, ProMotion high-refresh-rate technology, and advanced hardware-accelerated video decoding, macOS provides an ideal environment for streaming high-bitrate Internet Protocol Television (IPTV).
However, unlike the Android or Amazon Fire TV ecosystems, macOS does not always have the exact same application libraries readily available. Configuring a stable, buffer-free IPTV experience on a Mac requires understanding the specific software clients compatible with the operating system and knowing how to properly route your playlist credentials.
This comprehensive, step-by-step guide details the technical architecture of macOS streaming, the distinction between playlist protocols, and the exact procedures for installing and configuring the top IPTV applications available for Apple computers. Before getting started, you might want to secure an IPTV Free Trial to test these setups.

Understanding the macOS Streaming Ecosystem
Before installing any software, it is vital to understand how macOS handles media applications. The Apple ecosystem is currently split between two hardware architectures: legacy Intel-based Macs and modern Apple Silicon Macs.
If you are operating a newer Mac with an Apple Silicon chip, your device possesses a unique advantage: it can natively run applications designed for the iPad and iPhone. This bridges the software gap, allowing you to install highly optimized mobile IPTV players directly onto your desktop from the macOS App Store. If you are on an Intel-based Mac, you will rely on dedicated macOS desktop applications (usually downloaded as .dmg files) or universal open-source media players.
Regardless of your hardware, the fundamental mechanics of IPTV remain the same. The software acts purely as a blank media decoder; you must provide the server access credentials to populate the interface with live channels and video-on-demand (VOD) content.
The Core Protocols: M3U vs. Xtream Codes API
When you configure an IPTV player on your Mac, you will be asked to input your server credentials using one of two primary methods. Understanding the difference is crucial for a stable setup.
The M3U Playlist Format
An M3U (MP3 URL) is a plain text file that contains multimedia playlist data. In the context of IPTV, an M3U link is a long, complex web address provided by your server administrator. When the macOS application reads this link, it downloads a massive list pointing to the individual streaming servers for every single channel and movie in your package. While universally compatible with almost all media players, M3U links can be cumbersome to type and slow to update when server-side changes occur.
The Xtream Codes API
The Xtream Codes API is the modern standard for professional IPTV configuration. Instead of a single, massive URL, this method breaks your login credentials into three distinct components:
- Username
- Password
- Server URL (Portal)
Logging in via the Xtream Codes API is highly recommended whenever the software supports it. It connects your Mac directly to the server’s database, allowing for significantly faster loading times, immediate Electronic Program Guide (EPG) updates, and a much cleaner synchronization of massive VOD libraries.
Method 1: Configuring IBO Player on macOS (Premium Option)
For users seeking a premium, highly responsive user interface that mimics commercial streaming platforms, the IBO Player is a top-tier choice. For macOS users with Apple Silicon (M-series chips), the iPad version of IBO Player can be installed directly onto the desktop, providing an incredibly fast and stable experience.
Step-by-Step Installation and Setup:
- Download the Application: Open the App Store on your Mac. In the search bar, type IBO Player. Locate the official application (ensure it notes compatibility with macOS if using an Apple Silicon chip) and click Get or the download icon.
- Retrieve Device Credentials: Once installed, launch the IBO Player application from your Launchpad or Applications folder. Upon the first launch, the screen will display two critical pieces of information: a MAC Address and a Device Key. Leave this window open.
- Access the Web Portal: Open your web browser (Safari or Chrome) and navigate to the official IBO Player administrative website (typically
cms.iboproapp.com). - Login to the Dashboard: Enter the MAC Address and Device Key exactly as they appear on your Mac’s screen into the web portal.
- Upload the Playlist: Click on Add Playlist. You can choose to paste your direct M3U link or input your Xtream Codes API details. Give the playlist a recognizable name (e.g., “MacBook Stream”) and click Save.
- Refresh the Player: Return to the IBO Player application on your Mac. Click the Reload icon or restart the application. The software will sync with the web portal and download your live TV, movies, and series.
Note: IBO Player operates on a 7-day free trial, after which a one-time device activation fee is required to permanently unlock the software bound to that specific Mac’s MAC address.
Method 2: Configuring IPTV Smarters Pro (Standard Dedicated Option)
If you are using an older Intel-based Mac, or if you prefer a dedicated desktop application built specifically around the Xtream Codes framework, IPTV Smarters Pro is the industry standard. It is lightweight, reliable, and handles heavy VOD libraries exceptionally well.
Step-by-Step Installation and Setup:
- Download the DMG File: Because Smarters Pro is frequently removed from official app stores, you must download the desktop client directly from the developer’s website. Navigate to
iptvsmarters.comand download the macOS (.dmg) version. - Install the Software: Locate the downloaded .dmg file in your Downloads folder and double-click it. A window will open; drag the IPTV Smarters Pro icon into the Applications folder to complete the installation.
- Bypass Gatekeeper (If Necessary): macOS has strict security protocols for apps downloaded outside the App Store. If your Mac prevents the app from opening, navigate to System Settings > Privacy & Security, scroll down, and click Open Anyway next to the IPTV Smarters prompt.
- Launch and Login: Open the application. You will be greeted with multiple login options. Select Login with Xtream Codes API.
- Input Credentials: Enter an account name of your choosing, followed by your case-sensitive Username, Password, and the Server URL.
- Add User: Click the Add User button. The application will authenticate with the server and immediately begin downloading your channel categories and EPG data.
Method 3: Utilizing VLC Media Player (The Open-Source Decoder)
VLC Media Player is a ubiquitous, open-source media decoder capable of playing virtually any video format on earth. While it lacks the beautiful graphical user interface and EPG TV guides of dedicated IPTV apps, it is an essential tool for macOS users. It is the perfect application for rapidly testing whether an M3U link is active and functioning, without the need to set up complex user profiles.
Step-by-Step Installation and Setup:
- Download VLC: Navigate to videolan.org and download the official macOS version. Install the application by dragging it into your Applications folder.
- Open Network Stream: Launch VLC. In the top Apple menu bar, click on File, then select Open Network… (or use the keyboard shortcut Command + N).
- Paste the M3U Link: In the URL field that appears, paste your complete, active M3U playlist link.
- Initiate Playback: Click Open. VLC will connect to the server and automatically begin playing the very first channel on your playlist.
- Navigate Channels: To view the rest of your channel list, click the Playlist icon (three horizontal lines) in the VLC playback controls, or navigate to Window > Playlist in the top menu bar. You can double-click any channel in the list to switch streams.
Advanced macOS Performance Optimization
To ensure that your Mac handles high-bitrate live streams (such as 50fps sports broadcasts or 4K cinema channels) without buffering or artifacting, your network environment and system settings must be optimized.
1. Network Stability and Hardwiring
Wi-Fi, even on the latest Wi-Fi 6E compatible MacBooks, is inherently subject to packet loss and latency spikes caused by physical obstructions and signal interference. If you are using your Mac as a primary streaming hub (such as an iMac or a Mac Mini connected to a television), always utilize a hardwired connection. If your Mac lacks an ethernet port, use a high-quality USB-C to Gigabit Ethernet adapter. A direct Cat6 connection to your router ensures a flawless, uninterrupted data stream.
2. DNS Configuration
Sometimes, Internet Service Providers (ISPs) have poorly optimized Domain Name System (DNS) routing, which can increase the time it takes for your IPTV player to connect to the media server. You can bypass this by changing your Mac’s DNS to a faster, privacy-focused public DNS, such as Cloudflare.
- Navigate to System Settings > Network.
- Select your active connection (Wi-Fi or Ethernet) and click Details.
- Navigate to the DNS tab.
- Click the + button and add
1.1.1.1and1.0.0.1. Click OK to save.
3. Implementing a Virtual Private Network (VPN)
Many ISPs actively monitor for heavy, sustained streaming traffic and will artificially throttle your bandwidth during peak evening hours, causing massive buffering issues regardless of your actual internet speed. Running a reputable macOS VPN client in the background encrypts your network traffic. This prevents your ISP from identifying the IPTV packets, completely bypassing localized bandwidth throttling and ensuring a secure connection to your streaming server.
Frequently Asked Questions (FAQ)
Can I run Android IPTV apps on my Mac?
Natively, no. macOS cannot execute Android APK files. However, if you are utilizing an Apple Silicon Mac (M1 chip or newer), you can install the iPadOS versions of many popular streaming apps directly from the Mac App Store. Alternatively, you can use an Android emulator like BlueStacks, though this requires significant system resources and is not recommended for smooth video playback.
Why does my IPTV app crash when loading the VOD section?
If your provider offers a massive VOD library (e.g., 100,000+ movies), the application must download metadata and poster images for every single file. On older Intel Macs, this can exhaust the application’s allocated RAM, causing a crash. To resolve this, ask your provider to trim your playlist by removing international VOD categories you do not watch, significantly reducing the memory load on the application.
How do I update applications downloaded outside the App Store?
If you installed a program like IPTV Smarters Pro via a .dmg file, it will not update automatically through Apple’s system. You must periodically check the developer’s website, download the newest macOS installer, and run it to overwrite the older version. Your login credentials will typically remain saved during this process.
Why is there an audio delay when watching live TV on my Mac?
Audio desynchronization is usually caused by the macOS audio rendering engine struggling to process the stream’s specific audio codec (such as AAC or AC3) in real-time. In dedicated players, restarting the stream usually resolves this. If using VLC Media Player, you can manually fix the synchronization by pressing the F or G keys on your keyboard to advance or delay the audio track by 50 milliseconds until it matches the video.
Ready to Upgrade Your Streaming?
Stop missing your favorite live events and VODs. Get instant, anti-freeze access to Neo IPTV UK's premium library right now.